
Article continues below this Ad
It’s always good to test your 1/4″ seam allowance to be sure it’s accurate. If you change machines or maybe you just never tested it, this is a super simple way to be sure your seam allowance is 1/4″. And I have a myth buster or two to share below
MYTH: I have a 1/4″ foot on my machine so I don’t need to test it
MYTH BUSTED: Even if you have a 1/4″ foot for your machine it might need to be adjusted. You can’t assume it is 100% accurate
If you check and it is NOT accurate, then shift your needle one position (which ever direction it needs) and test again.
On one machine I used a different foot edge with the needle shifted for the most accurate 1/4″ seam on that machine.
At the END ARE TWO VIDEOs to help you out
Here is my super simple test
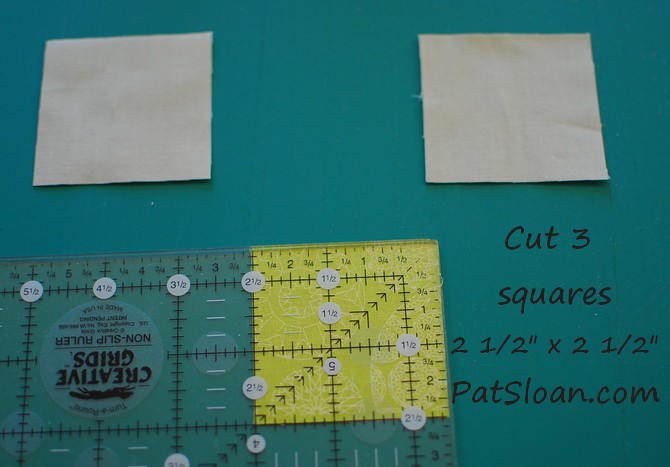
- Cut 3 squares 2 1/2″ x 2 1/2″.
- Use 2 different color fabrics so you can tell what you are doing
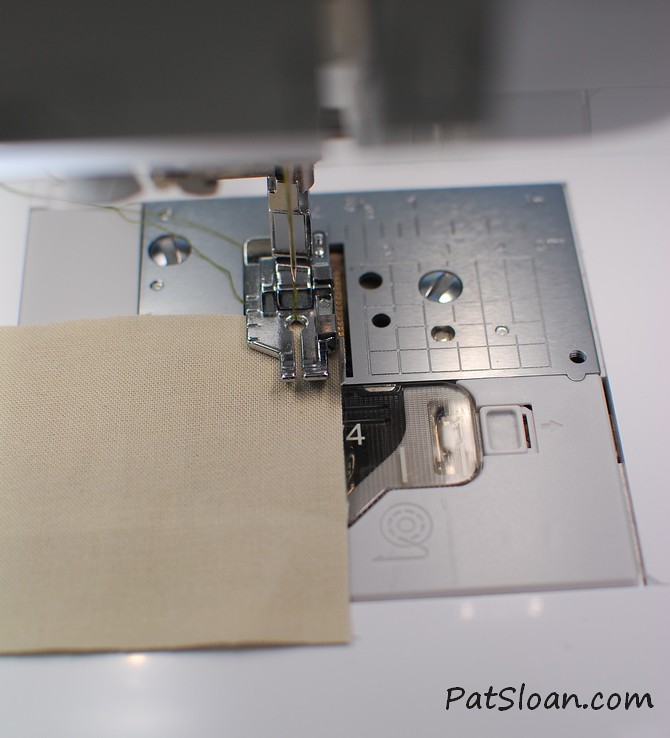
This is the 1/4″ foot for my Babylock Crescendo.
I love the guide edge on this one. Your machine may have a different foot, or no 1/4″ foot.
- Sew the 3 squares in a row.
Article continues below these Amazon Goodies

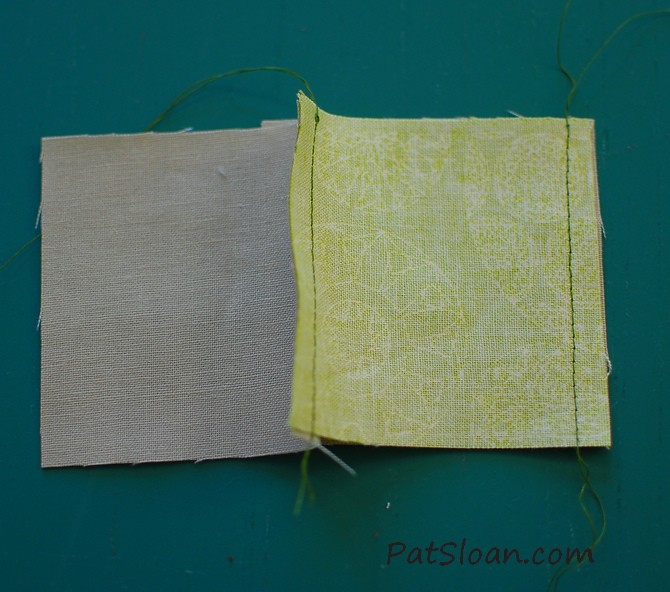
- My Babylock’s Crescendo 1/4″ seam foot sews a ‘scant’ 1/4″ seam. Do you see how the seam is to the RIGHT of the line. When you fold over fabric it takes up a little space, so sewing with a seam just ‘shy’ of 1/4″ is what works for most people.
- You need to go through this whole test to see how it ends up .. don’t stop here!
- I have this little 1/2″ wide ruler that i keep by my machine to check things.

- Press the unit so the right sides are up for all 3 squares. Do you see how the seam allowance creates a ridge?
- This is before i pressed it. when you press you need to have it flat. That way as you sew the units together they all are at the correct size.
- now let’s test it!
MYTH: I’m done now I don’t need to test
MYTH BUSTED: no you REALLY DO need to test!
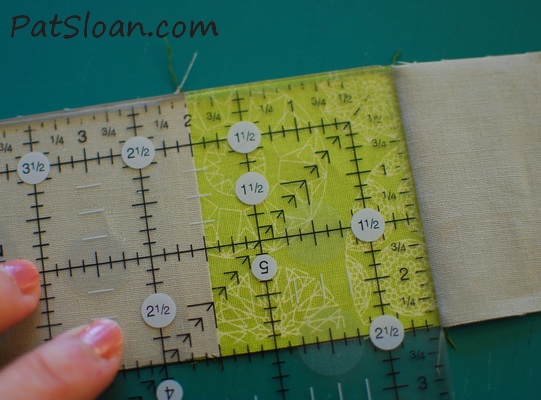
First I measure JUST the center block. It should be 2″ wide.

Now i measure the entire unit.
It should be 6 1/2″ wide. Why?
- 2.5″ sewn to 2.5″ sewn to 2.5″ = 6.5″
- Another way to know what the unit size is will be to add the FINISHED sizes of all 3.. that is 2+2+2 = 6… then add 1/2″ for the seam allowance on both sides (1/4″ + 1/4″) to make the number to nail 6.5″

TIP: To test I like to shift that ruler down and have a straight line across the top and bottom of the patchwork.
Watch my video on this of mine on shifting the ruler down for measuring that I did for Martingale
So your block is Not accurate
What to do
- You can shift your needle to the right or left then recheck
- Try a different foot & shift the needle position until it’s where it will give you a consistent accurate 1/4″ seam
ANOTHER THING it might be
It might not BE the foot.
As we sew sometimes we don’t stay true and on the line.
I show you this in the video above.
MYTH: It won’t matter if my block is the wrong Size, if they are all too small or too large it’s ok if they are the same size.
MYTH BUSTED: That ONLY works if you have drafted your own setting, or are putting the blocks side by side. If you are using a setting that has sashings, other blocks, units to piece, having incorrect blocks will not create a very sad face for you when you try and sew them together.
It’s worth the time to check your units AS you work
 THINGS to help you:
- My Teach Me books, the one on the left has all my tips for how to get accurate patchwork in a skill building step by step manner
- A 6.5″ Quilting Ruler is pretty much mandatory work tool, get a good one
- BUY the narrow measuring Rulers
- a REALLY Good Iron, 20% off + free Shipping with code PATSLOAN20
- Download this TUTORIAL as a PDF, it’s not pretty and no video..wink!
New to my site?
- Join my newsletter
- Subscribe to receive my newest articles in your inbox
- Listen to my Podcasts
- Join me at my Facebook Quilt Along
- I have a TON of freebies
- Find me at Instagram
Article continues below these Amazon Goodies
8 Responses
yep! the smaller the units the more important accuracy is to create a successful project
Glad it helped Loretta!
worth checking!
This is a very good explanation, but if your units are still too small, it could be from inaccurate cutting. If your squares are a thread or two too small, it will affect the unit size even if you are sewing a scant quarter inch.
Pat
Thank you so much for this great article, Pat. I’ve often wondered why my blocks don’t come out the correct size. Now to find out how to move my needle!
Check out the free browser add-on at printfriendly.com. You can print or create a pdf file to save. It let’s you first delete any text of photos you don’t want and the ads are removed.
really like the article but would like to print it so I have it to refer back to. It would take up all my ink with all the extra stuff. Should have a option for printable version.
Great article since I sew at my LQS on my Judi and then at home on my Bernina. I can be working on the same project carrying it back and forth.